BREW GUIDE
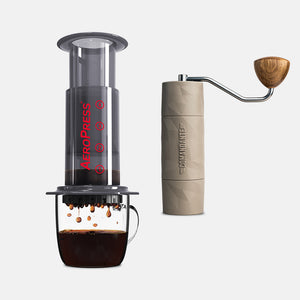
Aeropress
What kind of coffee will I get?
Light and smooth.
Because of its quick extraction, AeroPress gives a light, smooth result, ideal for those who enjoy a more delicate black coffee.
How much coffee will I need?
16–17g.
16–17g of coffee is ideal for this method. As the AeroPress is a standard size, you want enough water to fill up to the number 4 marker on the side of the cylinder.
Step-by-Step Guide
Step 1
Place a circular filter in the cap of your AeroPress and rinse with boiling water to get rid of any paper flavours. This step will also help the filter stay in place.
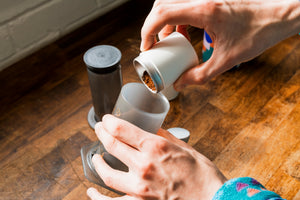
Step 2
Set your brewing chamber (the main AeroPress cylinder) over your cup or a jug and add your ground coffee to it. Give the chamber a slight shake to level out the coffee.
Step 3
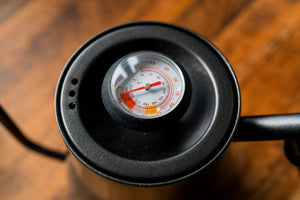
Heat your water to 96°c, either using a pour over kettle and thermometer or by boiling an electric kettle and letting it cool for 30 seconds to 1 minute.
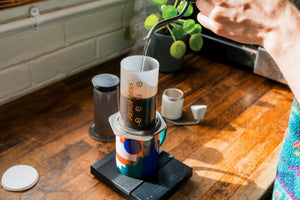
Step 4
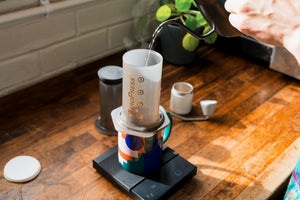
Pour your water into the chamber. You want to do this quickly, aiming to fill up to the number 4 marker in 10 seconds. Turn the chamber as your pour so you cover the coffee entirely.
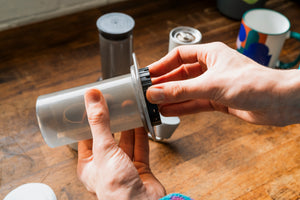
Step 5
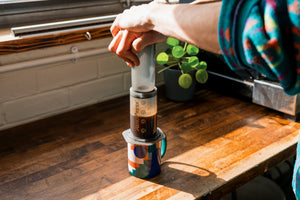
Stir the mixture gently with a spoon and then insert the AeroPress plunger slowly into the chamber. First keep it at a slight angle, then straighten it so it creates a vacuum. The plunger should still be sticking out.
Step 6
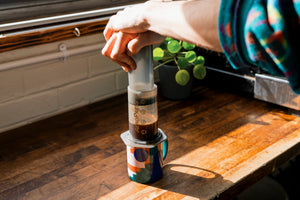
Set a timer for one minute and wait. After one minute, slowly push the plunger down — this step should take another minute. Once you hear a slight hissing noise, you’ll know that all the liquid has been pushed through the filter, and your coffee should be ready to go.
We Recommend

Goldstone
Goldstone
Aeropress Filter Papers
Aeropress Filter Papers
Aeropress
Aeropress